Optimizing Images with Astro

Optimizing Images with Astro
Images often account for the largest portion of a webpage’s size. By properly optimizing them, you can significantly improve your blog’s performance, load times, and user experience.
Why Optimize Images?
- Faster load times: Smaller images mean faster page loads
- Better Core Web Vitals: Improved LCP (Largest Contentful Paint)
- Lower bandwidth usage: Save users’ data
- Better SEO: Speed is a ranking factor for search engines
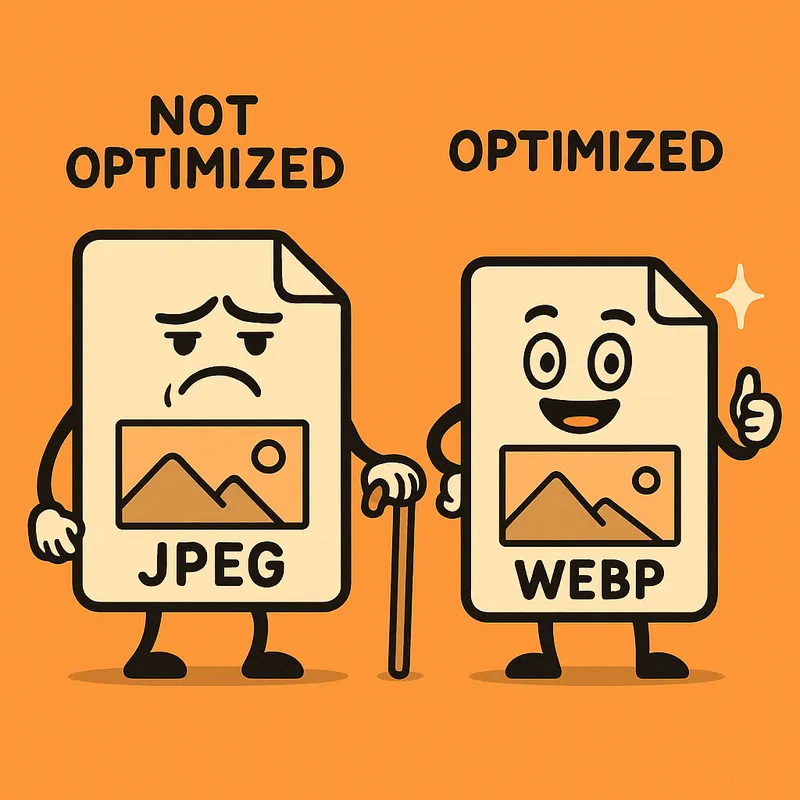
The illustration above shows the difference between traditional unoptimized JPEG images and modern WebP format. WebP files are typically 25-34% smaller with equivalent visual quality.
Modern Image Formats
Traditional formats like JPEG and PNG have served us well, but newer formats provide better compression:
| Format | Advantage | Size Reduction | Browser Support |
|---|---|---|---|
| WebP | Good compression, transparency | 25-34% smaller than JPEG | 95%+ |
| AVIF | Excellent compression | Up to 50% smaller than JPEG | 70%+ |
How Our Blog Handles Image Optimization
This blog automatically optimizes images using Astro’s built-in image optimization.
Using the OptimizedImage Component
You can easily use the OptimizedImage component in your Astro and MDX files:
<OptimizedImage
  src="/path/to/image.jpg"
  alt="Description of image"
  width={800}
  height={600}
  format="webp"
/>
Optimizing Images in Markdown Content
When writing blog posts in MDX, you can combine the flexibility of Markdown with the power of optimized images:
Standard Markdown Image
This will render as a standard image, but you won’t get the optimization benefits.
Using the Component for Better Optimization
For better optimization, you can use the OptimizedImage component:
<OptimizedImage
  src="/blog-placeholder-3.jpg"
  alt="Optimized example"
  width={400}
  height={300}
  format="webp"
/>
How It Works Behind the Scenes
- The
OptimizedImagecomponent usesgetImage()from Astro’s built-in image services - Images are processed with Sharp, a high-performance image processing library
- The most optimal format is served based on browser support
- Original images are preserved as fallbacks for older browsers
Batch Converting Your Images
We’ve also created a utility script to batch convert your existing images to modern formats:
npm run optimize-imagesThis script:
- Scans the
/publicdirectory for images - Converts them to WebP and AVIF formats
- Preserves the originals for backward compatibility
- Saves the optimized versions to the assets directory
Next Steps
Now that you understand how image optimization works on this blog, try:
- Using the
OptimizedImagecomponent in your next blog post - Running the optimization script on your existing images
- Checking the performance improvements in tools like Lighthouse
By implementing these optimizations, your blog will load faster and provide a better experience for your readers.
Comments